🔌 Setting Up the Entra Private Network Connector
📥 Step 1: Download the Connector Service
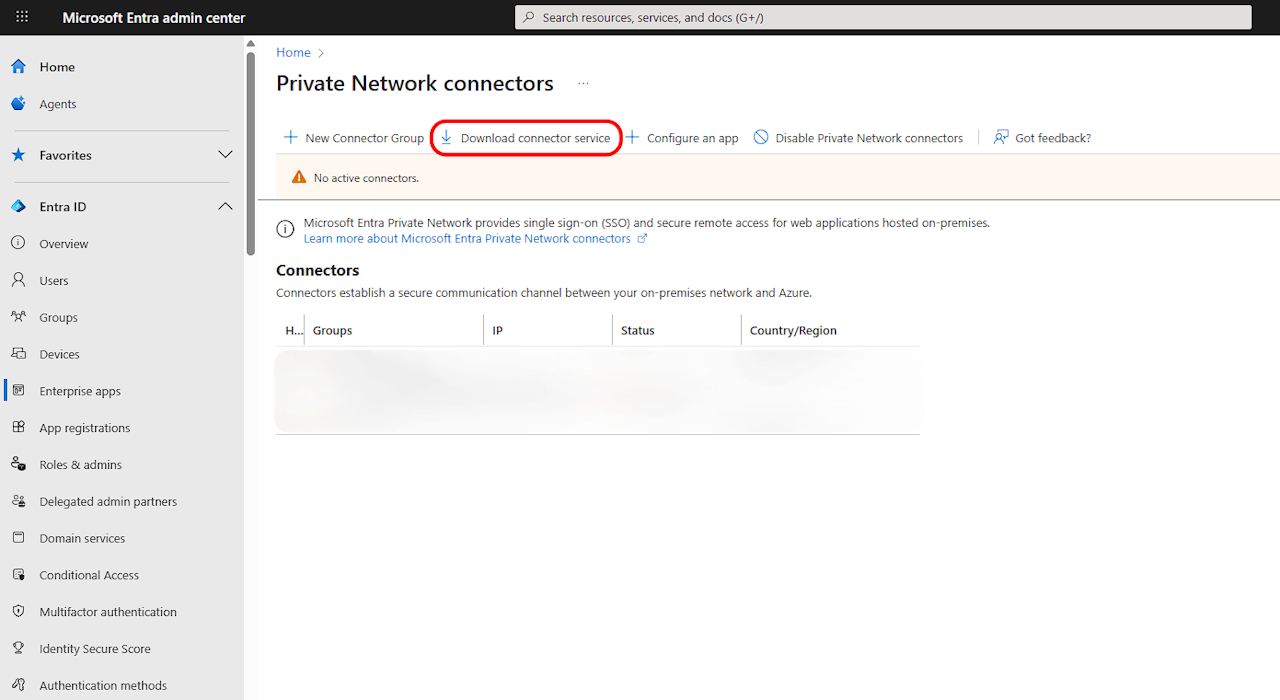
Log in to the Microsoft Entra Admin Center.
Navigate to:
Identity → Applications → Enterprise applications → Private access → ConnectorsClick on the “Download connector service” button.
Copy the provided download link.
🖥️ Step 2: Install on Your Windows Server
Remote Desktop (RDP) into your Windows Server.
Open a browser (e.g., Edge) and paste the downloaded link into the address bar.
Run the downloaded installer and follow the on-screen prompts to complete the installation.
The installer will automatically register the connector with your tenant.
✅ Step 3: Verify & Enable the Connector
Go back to the Connectors section in the Entra Admin Center.
You should now see your server listed under the connectors. It might take a minute to appear.
Click on the connector and toggle “Enable Private Network Connectors” to On.
🌐 Step 4: Configure Your First Application
With the connector enabled, click “Configure an app”.
This will guide you through creating a new Entra application to represent the on-premises resource you want to publish (e.g., a website, RDP server, or SSH host).