🔌Creating Private Network connectors
📍 Step 1: Download the Connector Installer
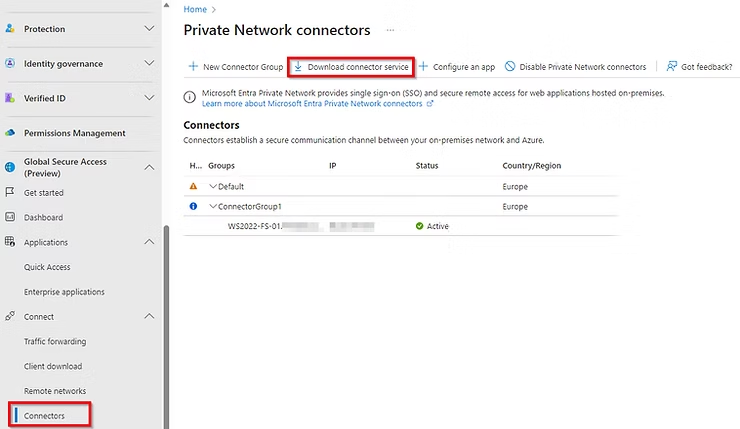
Log in to the Microsoft Entra Admin Center.
Navigate to:
Global Secure Access → Connect → ConnectorsClick the “Download connector service” button.
Copy the provided download link. You will need this on your Windows Server.
💡 Note for New Tenants: If this is your first time, you'll see a notice that "Private Network is currently disabled." This is normal and will disappear once you install and enable your first connector.
🖥️ Step 2: Install the Connector on Your Server
Remote Desktop (RDP) into a Windows Server on your corporate network. For production, plan to install multiple connectors for high availability.
Open a web browser on the server.
Paste the download link you copied into the address bar and press Enter to download the installer.
Run the downloaded installer.
Follow the on-screen prompts.
✅ Step 3: Verify Connector Registration
Go back to the Connectors section in the Entra Admin Center.
After a few moments, your new server should appear in the list, likely within the "Default" connector group.
Check that its Status is "Active" and its Health shows as "Healthy".